Toyota Sienna Service Manual: Removal
1. REMOVE REAR WHEEL
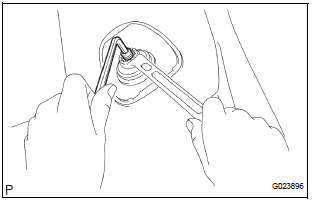
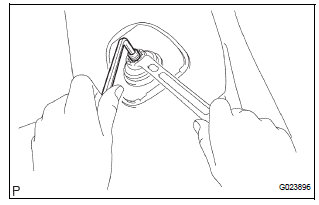
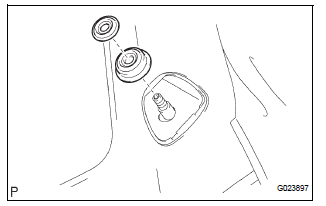
2. REMOVE REAR SHOCK ABSORBER CAP LH
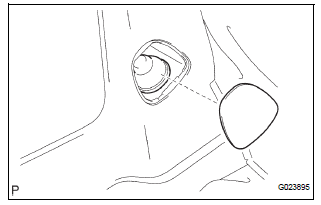
(a) Remove the shock absorber head cover.
(b) Remove the shock absorber cap LH.
3. REMOVE SHOCK ABSORBER ASSEMBLY REAR LH
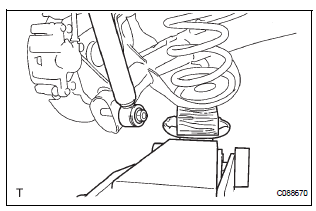
(a) Support the rear axle beam with a jack.
(b) Using a 6 mm hexagon wrench to hold the piston rod, remove the lock nut.
(c) Remove the rear shock absorber LH cushion retainer and rear shock absorber cushion No.1.
(d) Remove the nut, cushion retainer and shock absorber assembly rear LH.
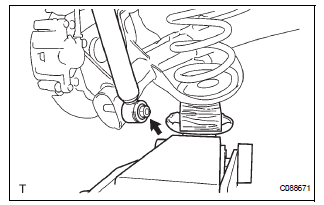
(e) Remove the rear spring bumper No.1 LH from the shock absorber assembly rear LH.
 Rear shock absorber
COMPONENTS
...
 Inspection
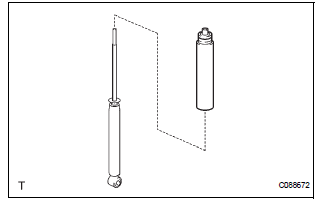
1. INSPECT SHOCK ABSORBER ASSEMBLY REAR LH
(a) Push down and pull up the shock absorber rod, and
check that there is no unusual resistance or unusual
operation sound.
If there is any malfunc ...
Other materials:
Display check mode
HINT:
This mode checks the color display on the display.
Illustrations may differ from the actual vehicle depending
on the device settings and options. Therefore, some
detailed areas may not be shown exactly the same as on
the actual vehicle.
1. ENTER DIAGNOSTIC MODE
2. D ...
ABS Control System Malfunction
DTC 43 ABS Control System Malfunction
DESCRIPTION
This DTC is output when the VSC system detects a malfunction in the ABS
control system.
INSPECTION PROCEDURE
NOTICE:
When replacing the brake actuator assembly, perform zero point calibration
(See page BC-70).
1 CHECK ABS CONTROL SYSTEM
( ...
Voice is not Recognized
INSPECTION PROCEDURE
1 CHECK NAVIGATION SETTINGS
Enter the "Menu" screen by pressing the "MENU" switch.
Select "Setup
Check that "Voice Recognition Guidance" is not OFF.
OK:
Voice Recognition Guidance is not OFF.
2 CHECK MAP DISC
...
