Toyota Sienna Service Manual: Installation
1. INSTALL POWER POINT SOCKET ASSEMBLY
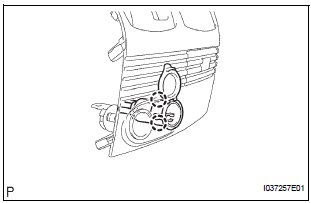
- Engage the 2 claws to install the power point socket assembly.
2. INSTALL INSTRUMENT CLUSTER CENTER LOWER FINISH PANEL SUB-ASSEMBLY
3. INSTALL POSITION INDICATOR HOUSING ASSEMBLY
4. INSTALL SHIFT LEVER KNOB SUB-ASSEMBLY
5. INSTALL INSTRUMENT CLUSTER CENTER NO. 2 FINISH PANEL
6. INSTALL INSTRUMENT CLUSTER CENTER NO. 1 FINISH PANEL
 Removal
1. REMOVE INSTRUMENT CLUSTER CENTER NO. 1 FINISH PANEL
2. REMOVE INSTRUMENT CLUSTER CENTER NO. 2
FINISH PANEL
3. REMOVE SHIFT LEVER KNOB SUB-ASSEMBLY
4. REMOVE POSITION INDICATOR HOUSING ASSEMBLY
...
 Power point socket (for Rear Side)
COMPONENTS
...
Other materials:
Fuel tank
Components
REMOVAL
1. DISCHARGE FUEL SYSTEM PRESSURE
(See page FU-1)
2. REMOVE CHARCOAL CANISTER PROTECTOR (See
page FU-30)
3. REMOVE REAR FLOOR NO. 2 CROSSMEMBER BRACE LH
(a) Remove the 2 bolts and the rear floor No. 2
crossmember brace LH.
4. REMOVE FUEL TANK FILLER HOSE COVER ...
Precaution
NOTICE:
When the ignition switch is turned off and the engine
temperature is high, the cooling fans may operate for
approximately 3 minutes.
After turning the ignition switch off, keep hands and
objects away from the fans when they are operating.
HINT:
If al ...
Air conditioning unit
COMPONENTS
...
