Toyota Sienna Service Manual: Reassembly
1. INSTALL PARKING BRAKE SWITCH ASSEMBLY
(a) Install the parking brake switch to the parking brake pedal with the screw.
2. INSTALL PARKING BRAKE CABLE ASSEMBLY NO.1
(a) Connect the parking brake cable No. 1 to the parking brake cable equalizer.
(b) Install the parking brake cable No. 1 with the 6 bolts.
(Except 7 Passenger Type) (c) Install the parking brake cable No. 1 with the 7 bolts.
(7 Passenger Type)
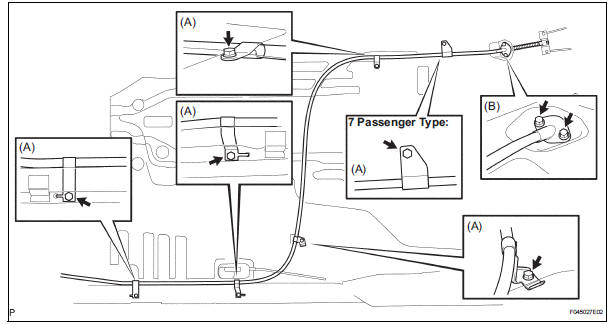
Torque: Bolt (A) 5.6 N*m (57 kgf*cm, 50 in.*lbf) Bolt (B) 8 N*m (82 kgf*cm, 71 in.*lbf)
3. INSTALL PARKING BRAKE PEDAL BRACKET PROTECTOR
(a) Fit the convex part on a new parking brake pedal bracket protector into the concave part on the parking brake control pedal and turn the parking brake pedal bracket protector counterclockwise.
(b) Engaging the 2 claws, install the parking brake pedal bracket to the parking brake control pedal.
 Disassembly
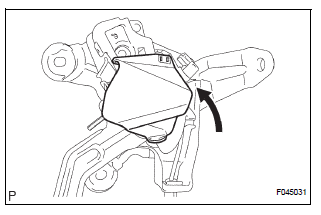
1. REMOVE PARKING BRAKE PEDAL BRACKET PROTECTOR
(a) Using a flat-head screwdriver, disengage the 2
claws on the parking brake pedal bracket protector.
(b) Turning the parking brake pedal br ...
 Installation
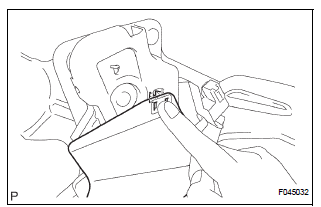
1. INSTALL PARKING BRAKE CONTROL PEDAL ASSEMBLY
(a) Install the parking brake control pedal assembly with
a bolt and the 2 nuts.
Torque: 39 N*m (398 kgf*cm, 29 ft.*lbf)
(b) Connect the parki ...
Other materials:
Listening to a
USB memory device
Connecting a USB memory device enables you to enjoy music
from the vehicle speakers.
Touch ŌĆ£USBŌĆØ on the audio source selection screen.
Connecting a USB memory device
Audio control screen
Pressing the ŌĆ£AUDIOŌĆØ button displays the audio control screen from
any screens of the selected so ...
On-vehicle inspection
1. INSPECT SEAT POSITION SENSOR (VEHICLE NOT
INVOLVED IN COLLISION)
Perform a diagnostic system check.
2. INSPECT SEAT POSITION SENSOR (VEHICLE
INVOLVED IN COLLISION)
Perform a diagnostic system check.
Even if the airbag was not deployed, check if there
is any dama ...
Removal
1. REMOVE EXHAUST PIPE ASSEMBLY
(a) Remove exhaust pipe assembly (See page EX-8).
2. REMOVE PROPELLER W/CENTER BEARING SHAFT ASSEMBLY
(a) Depress the brake pedal and hold it down.
(b) Using a hexagon wrench (6 mm), loosen the cross
groove joint set bolts a half turn.
HINT:
Place a cloth ...
