Toyota Sienna Service Manual: Slide door lock
INSPECTION
1. INSPECT SLIDE DOOR LOCK REMOTE CONTROL SUB-ASSEMBLY LH
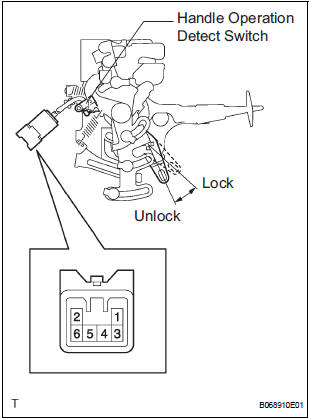
- Inspect the resistance of the switch.
Resistance

If the result is not as specified, replace the control assembly.
2. INSPECT SLIDE DOOR LOCK REMOTE CONTROL SUB-ASSEMBLY RH
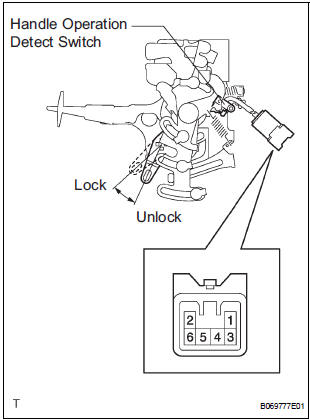
- Inspect the resistance of the switch.
Resistance

If the result is not as specified, replace the control sub-assembly.
3. INSPECT SLIDE DOOR LOCK REMOTE CONTROL SUB-ASSEMBLY LH
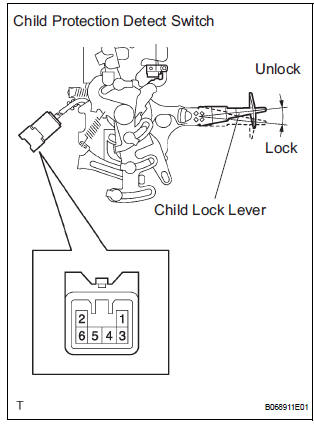
- Inspect the resistance of the switch.
Resistance

If the result is not as specified, replace the control sub-assembly.
4. INSPECT SLIDE DOOR LOCK REMOTE CONTROL SUB-ASSEMBLY RH
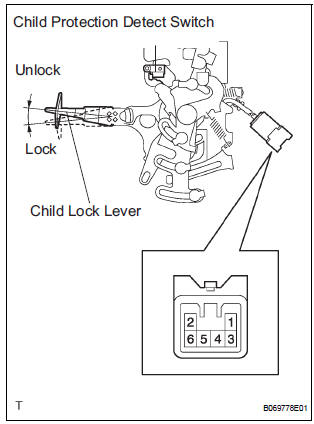
- Inspect the resistance of the switch.
Resistance

If the result is not as specified, replace the control sub-assembly.
 Installation
1. INSTALL SLIDE DOOR ROLLER ASSEMBLY UPPER
Apply MP grease to the rotating area of the roller.
Install the roller with the 2 bolts.
Torque: 13 N*m (130 kgf*cm, 10 ft.*lbf)
2. INSTALL S ...
 Exterior
...
Other materials:
Display does not Dim when Light Control Switch is Turned ON
INSPECTION PROCEDURE
1 CHECK IMAGE QUALITY SETTING
Enter the display adjustment screen by pressing the
"DISPLAY" switch.
Turn the light control switch to the TAIL position.
Check if "DAY MODE" on the display adjustment is ON.
OK:
"DAY MODE" ...
Diagnosis system
1. CHECK DLC3
The vehicle's ECU uses ISO 15765-4 for
communication protocol. The terminal arrangement
of the DLC3 complies with SAE J1962 and matches
the ISO 15765-4 format.
NOTICE:
*: Before measuring the resistance, leave the
vehicle as is for at least 1 minute and do not
...
Read vin (vehicle identification number)
(a) The VIN reading process is shown in the flowchart
below. Reading the VIN stored in the ECM is
necessary when comparing it to the VIN provided
with the vehicle.
(b) Read the VIN using the intelligent tester.
(c) Check the vehicle's VIN.
(d) Connect the intelligent tester to the DLC3.
...
