Toyota Sienna Service Manual: Screen Flicker or Color Distortion
INSPECTION PROCEDURE
1 CHECK DISPLAY SETTING
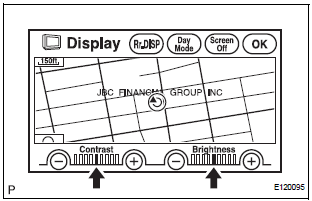
- Enter the display adjustment screen by pressing the "DISPLAY" switch.
- Reset display settings (contrast, brightness) and check that the screen appears normal
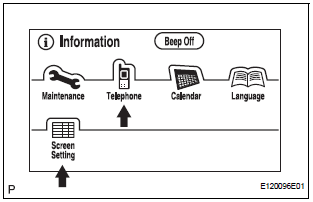
- Press the "INFO" switch and then select "Screen Setting."
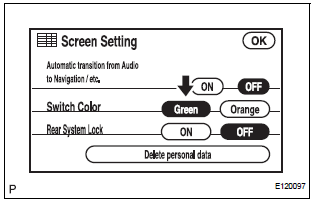
- Set the "Switch Color" to "Green" (initial setting) and check if the display returns to normal.
OK: Returns to normal.
END
2 CHECK CABIN
- Check that the cabin temperature is warmer than -20C (-4.0F).
OK: Cabin is warmer than -20C (-4.0F).
3 CHECK COLOR BAR (DISPLAY CHECK MODE)
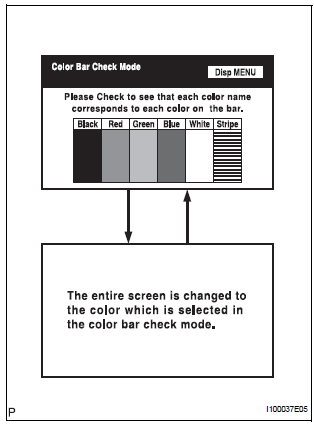
- Enter the "Display Check" mode (Color Bar Check).
- Check that the color bars match the displayed names.
OK: Color bars match the displayed names.
4 CHECK NAVI COLOR BAR (NAVIGATION CHECK MODE)
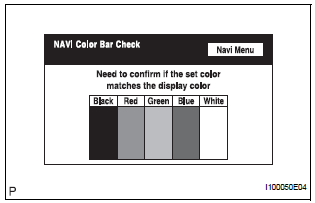
- Enter the "Navigation Check" mode (NAVI Color Bar Check).
- Check that the color bars match the displayed names.
OK: Color bars match the displayed names.
PROCEED TO NEXT CIRCUIT INSPECTION SHOWN IN PROBLEM SYMPTOMS TABLE
 Display Panel does not Open, Tilt or Tilts Improperly
INSPECTION PROCEDURE
1 CHECK RADIO AND NAVIGATION ASSEMBLY
Check for foreign matter or obstructions caught in the
moving parts of the panel.
OK:
No obstruction or foreign matter found.
...
 Poor Sound Quality in All Modes (Low Volume)
INSPECTION PROCEDURE
1 CHECK AUDIO SETTINGS
Set "BASS", "MID" and "TREB" to the initial values and
check that sound is normal.
OK:
Malfunction disappears.
2 C ...
Other materials:
Transmission Fluid Temperature Sensor "A"
DESCRIPTION
The ATF (Automatic Transmission Fluid) temperature sensor converts the fluid
temperature into a
resistance value which is input into the ECM.
The ECM applies a voltage to the temperature sensor through ECM terminal THO1.
The sensor resistance changes with the transmission f ...
Rear Airbag Sensor RH Circuit Malfunction
DTC B1154/38 Rear Airbag Sensor RH Circuit Malfunction
DESCRIPTION
The rear airbag sensor RH circuit consists of the center airbag sensor
assembly and rear airbag sensor
RH.
If the center airbag sensor assembly receives signals from the rear airbag
sensor RH, it judges whether or
not the ...
Abnormal Temperature Inside ID1 Tire
DESCRIPTION
Each tire pressure warning valve and transmitter measures the internal
temperature of its tire as well as
tire pressure, and transmits the information to the tire pressure warning ECU
along with the transmitter ID.
If the measured temperature is out of the specified range, t ...
